There Was an Error Connecting to the Apple ID Server on Your Devices
Introduction
Encountering the “There was an error connecting to the Apple ID server” message can be frustrating, especially when you rely on Apple services for daily tasks. This error can prevent you from accessing essential services like iCloud, App Store, and iMessage. In this blog post, we will explore the reasons behind this error and provide step-by-step solutions to resolve it. By following these troubleshooting tips, you can reconnect to the Apple ID server and restore your device’s functionality.
There Was an Error Connecting to the Apple ID Server Message
The “There was an error connecting to the Apple ID server” message indicates that your device is unable to establish a connection with Apple’s servers. This issue can arise due to various reasons, including network problems, server outages, or incorrect device settings. Understanding the root cause of the problem is the first step towards resolving it.
Check Your Internet Connection
A stable internet connection is crucial for connecting to the Apple ID server. Ensure that your device is connected to a reliable Wi-Fi network or has a strong cellular signal. If you’re using Wi-Fi, try restarting your router or switching to a different network to see if the error persists. A weak or unstable internet connection is a common cause of the “There was an error connecting to the Apple ID server” issue.
Verify Apple’s System Status
Sometimes, the “There was an error connecting to the Apple ID server” error occurs due to server-side issues. Visit Apple’s System Status page to check if there are any ongoing outages or maintenance activities affecting Apple ID services. If Apple’s servers are down, you will need to wait until the issue is resolved on their end.
Update Your Device’s Software
Outdated software can lead to compatibility issues and trigger the “There was an error connecting to the Apple ID server” message. Ensure that your device is running the latest version of iOS, macOS, or other relevant software. To check for updates, go to Settings > General > Software Update on your iPhone or iPad, or System Preferences > Software Update on your Mac.
Check Your Date and Time Settings
Incorrect date and time settings can interfere with your device’s ability to connect to the Apple ID server. Make sure your device’s date and time are set correctly. On iOS devices, go to Settings > General > Date & Time and enable “Set Automatically.” On a Mac, go to System Preferences > Date & Time and select “Set date and time automatically.”
Sign Out and Sign Back In to Your Apple ID
Signing out and back in to your Apple ID can refresh your device’s connection to the server. To sign out, go to Settings > [Your Name] > Sign Out on your iPhone or iPad, or System Preferences > Apple ID > Overview > Sign Out on your Mac. After signing out, restart your device and sign back in with your Apple ID credentials.
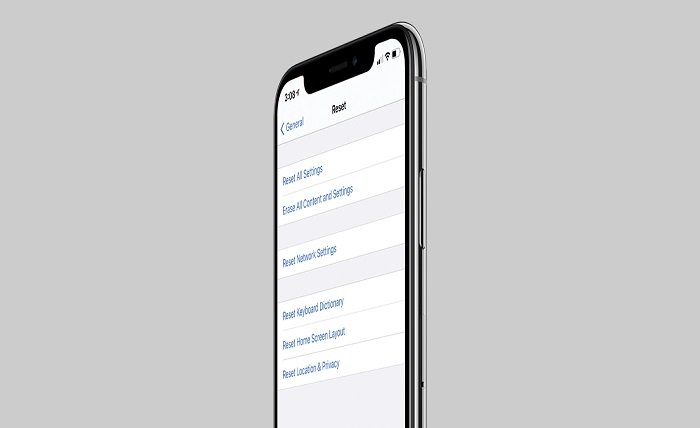
Reset Network Settings
If you’re still experiencing the “There was an error connecting to the Apple ID server” issue, resetting your network settings might help. This process will erase all saved Wi-Fi networks and passwords, so be sure to have them handy. On iOS devices, go to Settings > General > Reset > Reset Network Settings. On a Mac, open Terminal and type “sudo ifconfig en0 down && sudo ifconfig en0 up” to reset network settings.
Disable VPN and Proxy Services
VPNs and proxy servers can sometimes interfere with your device’s connection to the Apple ID server. If you have a VPN or proxy enabled, try disabling it temporarily to see if the error resolves. Go to Settings > General > VPN & Device Management on iOS, or System Preferences > Network on macOS to manage these settings.
Check for Certificate Trust Settings
Occasionally, certificate trust settings can cause the “There was an error connecting to the Apple ID server” message. Ensure that your device trusts the necessary certificates by going to Settings > General > About > Certificate Trust Settings on iOS, or Keychain Access > System Roots on macOS. Make sure the certificates are properly configured.
Contact Apple Support
If none of the above solutions work, it may be time to contact Apple Support for further assistance. Provide them with details about the “There was an error connecting to the Apple ID server” issue and the steps you’ve already taken to resolve it. Apple Support can offer additional troubleshooting tips or escalate the issue if needed.
Conclusion
The “There was an error connecting to the Apple ID server” message can be a significant hindrance, but with the right approach, it can be resolved. By checking your internet connection, updating your software, verifying date and time settings, and following the other troubleshooting steps outlined in this guide, you can restore your device’s connection to the Apple ID server. If all else fails, Apple Support is always there to help. Stay connected and enjoy seamless access to all your Apple services.
FAQs
Q1: Why am I seeing the “There was an error connecting to the Apple ID server” message?
A: This error message appears when your device is unable to connect to Apple’s servers. It can be due to network issues, server outages, or incorrect device settings.
Q2: How can I check if Apple’s servers are down?
A: Visit Apple’s System Status page to see if there are any ongoing outages or maintenance activities affecting Apple ID services.
Q3: What should I do if my internet connection is unstable?
A: Try restarting your router, switching to a different Wi-Fi network, or using a cellular connection to see if the error resolves.
Q4: Will resetting network settings delete my data?
A: Resetting network settings will erase saved Wi-Fi networks and passwords, but it will not delete your personal data or apps.
Q5: How can I contact Apple Support for help?
A: Visit the Apple Support website or use the Apple Support app to get in touch with a representative who can assist you with the “There was an error connecting to the Apple ID server” issue.